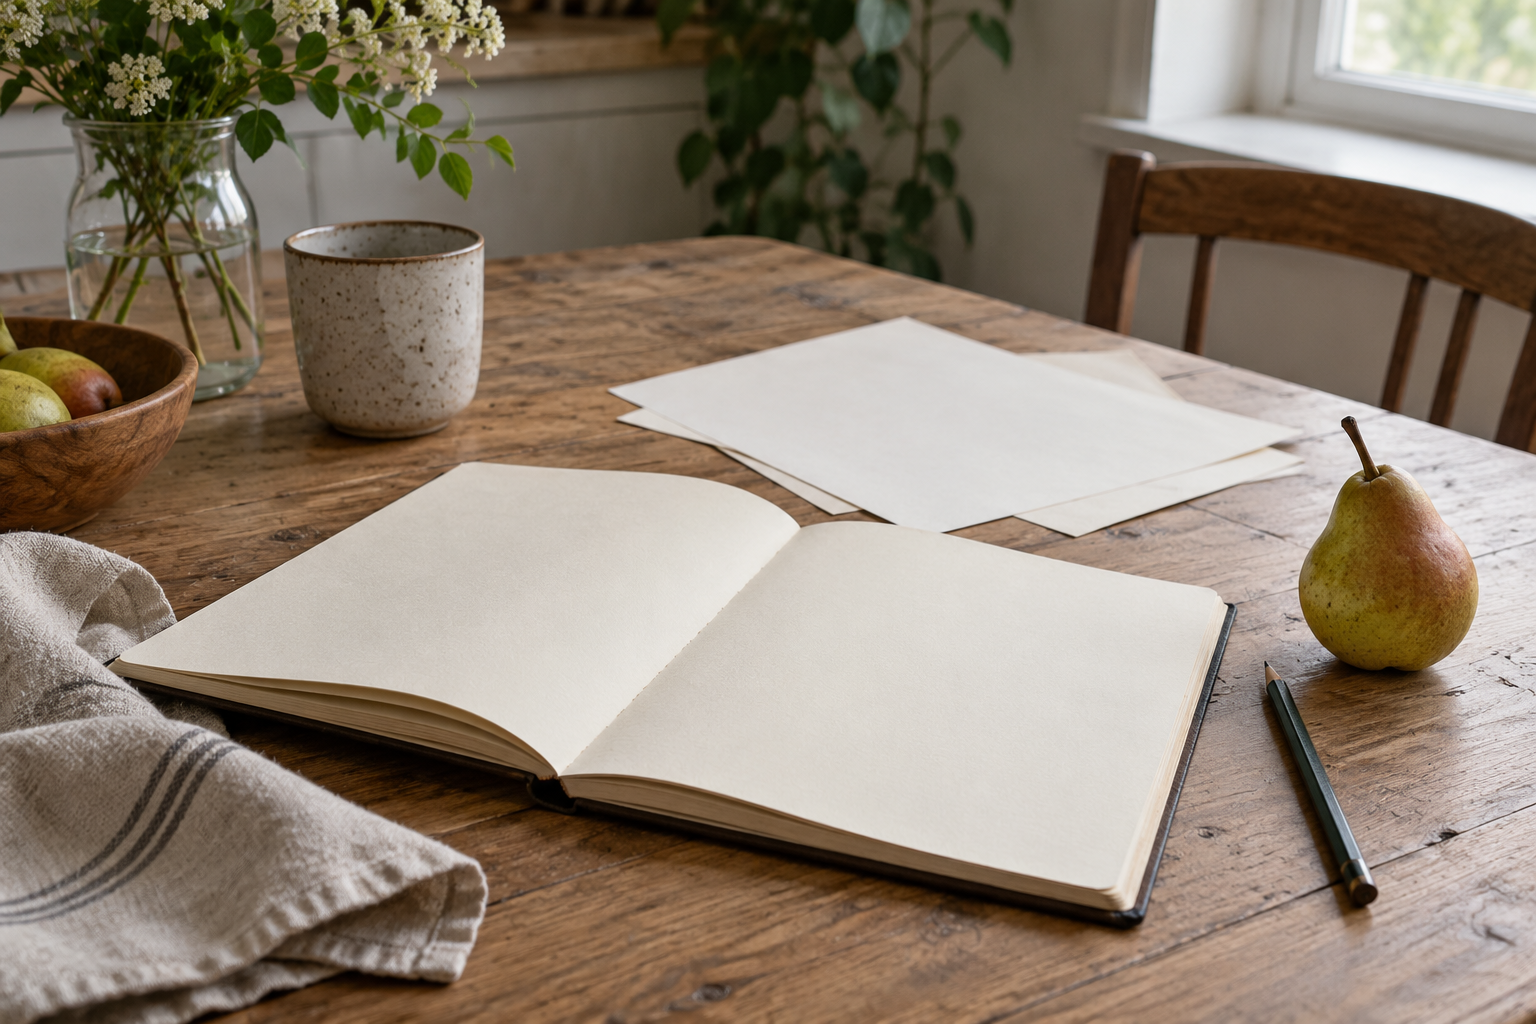
A mug is a useful subject for a first sketch because it is both familiar and surprisingly strange. You know roughly what it looks like. Then you try to draw its rim, and the oval tilts. The handle sits too low. The bottom seems to belong to another mug entirely. Nothing disastrous has happened. You have begun comparing the idea of an object with the object in front of you.
That comparison is a satisfying reason to draw ordinary things. You do not need to produce a picture worth framing. You can spend a few minutes looking closely at a spoon, a shoe, or a folded cloth and leave with a page that records the attempt. The crooked parts are visible decisions, not a verdict on whether you are allowed to continue.
Put one object where you can see it
Choose something with a manageable outline: a plain cup, a pear, a small box, or a bottle without a busy label. Place it on a surface where it can stay still. Side lighting from a window or lamp can make its shape easier to notice, but there is no need to construct a studio. A little space on the kitchen table is enough.
Sit where you can see the object and the page without repeatedly changing position. Rest the paper on something stable. Use a pencil you have and paper that accepts it reasonably well. An eraser is optional. Expensive materials do not remove the need to decide where a line belongs, which is the interesting part of the exercise.
Give the first drawing a modest boundary. Fill a small part of a page rather than attempting a large finished study. You can draw the same object again beside it. Several small versions give you different opportunities to look, whereas one heavily corrected picture can become a long argument with a single line.
Find the largest shape first
Before drawing details, compare height and width. Is the object tall and narrow, or wider than it is high? Lightly mark the top, bottom, and sides on the page. Connect them with a rough shape. A cup may begin as a tilted box with curved edges; a pear may begin as two uneven rounded masses.
Look at the spaces around the object as well. The opening inside a handle is a shape you can draw. So is the triangle between a chair leg and the floor. Sometimes these empty spaces are easier to compare than the object itself, because you have fewer assumptions about what they ought to look like.
Keep returning your eyes to the subject. If you spend a long stretch looking only at the paper, you may begin drawing a symbol of a mug rather than this particular mug. A practical rhythm is to look, make a small set of marks, then look again. There is no need to count or make the movement mechanical.
Let the line be a little uncertain
A sketch can contain searching marks. You might place an edge lightly, notice that it belongs farther left, and draw a second edge. The page does not have to hide that process. As you become clearer about the form, strengthen the line you want to keep and leave the others quiet.
Try drawing once without an eraser. This is not a test of confidence. It simply gives you another way to respond when a line goes somewhere unexpected. You can adjust nearby shapes, begin a second drawing, or let the first remain visibly imperfect. All three choices are ordinary ways of continuing.
For another exercise, draw only the outline and leave the inside empty. Then make a second version using a few broad areas of light and dark. Compare what each version tells you about the object. The outline describes its boundary; the shaded version may reveal where one surface turns away from the light.
Use shadow sparingly at first
Choose one clear dark area and indicate it with light strokes. The shadow underneath an object can help it appear to sit on the table rather than float. You do not need to reproduce every small reflection. A few differences in tone can be enough to distinguish a light side, a darker side, and the surface below.
Keep the darkest marks until you know where you want them. Pencil can build gradually, and a light beginning leaves options open. If the page becomes muddy, try another small drawing rather than covering it with more corrections. The next attempt can begin with something you learned from the first.
Texture is optional. A cloth does not require every thread, and a shoe does not require every stitch. Choose the details that help describe the form. Leaving something out is part of drawing, not an admission that the picture is unfinished. An ordinary object can be recognizable from surprisingly few well-placed marks.
Give the practice somewhere to live
Keep the pencil with the paper so beginning does not require gathering equipment. You might use the back pages of an everyday notebook rather than buying a separate sketchbook. Date the page if you want to see a sequence, but do not feel obliged to draw every day to make the collection legitimate.
Vary the subject when curiosity asks you to. Draw the same cup from above, turn the shoe, or fold the cloth differently. You can also bring a detail home from a neighborhood walk: the shape of a gate, a bench, or the branching of a tree. Memory drawings are a different exercise, with different limitations.
When you finish, name one thing you noticed rather than judging the whole picture. The handle has an angular corner. The rim is narrower than expected. The shadow touches the object on one side. That observation is something specific you can use next time. Put the pencil down while there is still another ordinary thing you might like to try.